
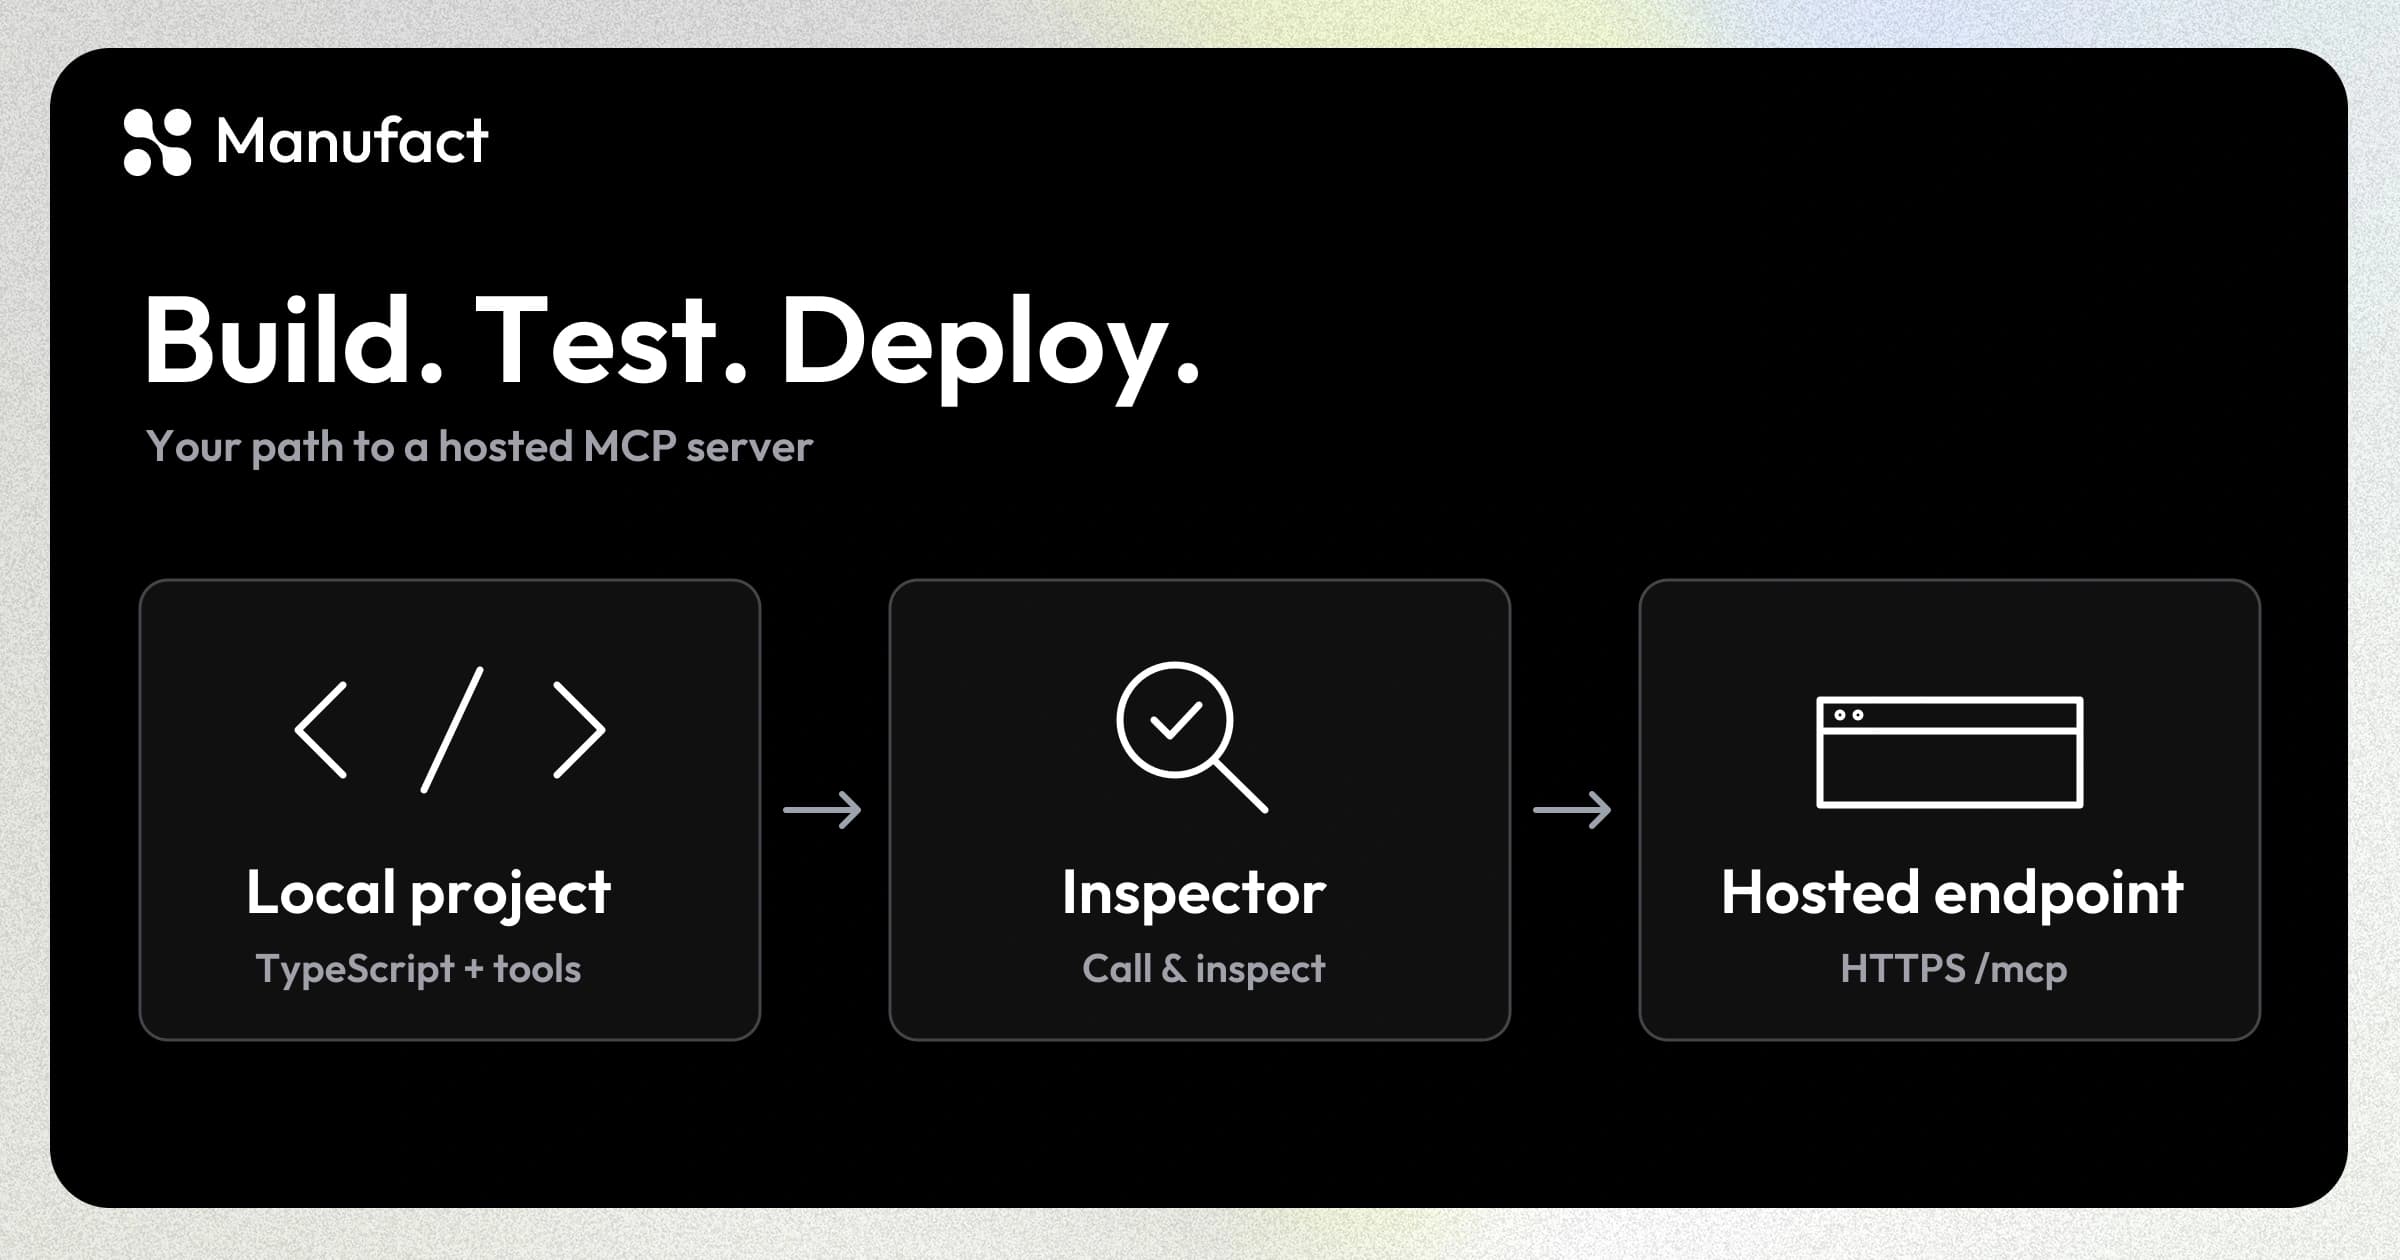
This guide takes a TypeScript MCP server from a local project to a hosted endpoint. Start by creating a small tool, test its response in the Inspector, then deploy and check it in the clients your users use.
The short path from local server to deployment
- Scaffold the project and run it locally using the commands below.
- Call a tool in the Inspector and check the result.
- Commit and push the project to GitHub. Give the Manufact GitHub App access to that repository.
- Sign in, deploy, and check the deployment status before using its URL.
For a generated project, run these commands from its directory after local testing:
npx mcp-use login
npm run deploy
Deployment starts a build; it is not confirmation that the endpoint is ready. Use the deployment ID returned by the CLI to inspect its status:
npx mcp-use deployments get DEPLOYMENT_IDOnce running, copy the exact MCP URL from the dashboard and test that endpoint in your intended clients. Set production secrets and authentication before exposing private data. See the deployment documentation for setup and build logs.
Already have working code? Use the hosting walkthrough or GitHub deployment quickstart. The MCP hosting page covers the managed service.
What MCP Is and Why You're Building a Server
MCP is an open protocol that connects AI clients to external tools and data. The client sends JSON-RPC requests; your server responds by exposing tools, resources, and prompts. See what MCP apps are if you need background before the build steps.
The server defines its tools and their input schemas. Each client decides which tools to call for a user's request.
Core MCP Concepts: Tools, Resources, and Prompts
MCP servers expose three primitive types. Understanding them before writing code saves you from restructuring later.
- Tools are callable functions the LLM can invoke. A
get_weather(city: str)function registered as a tool means Claude can call it mid-conversation and act on the result. - Resources are file-like data clients can read: a database query result, a file's contents, an API response. Clients pull these without triggering side effects.
- Prompts are reusable message templates your server registers so clients can surface them as slash commands or quick-start options.
Most servers start with tools only. Add resources and prompts once the core logic is working.
Choosing Your Transport: local or remote
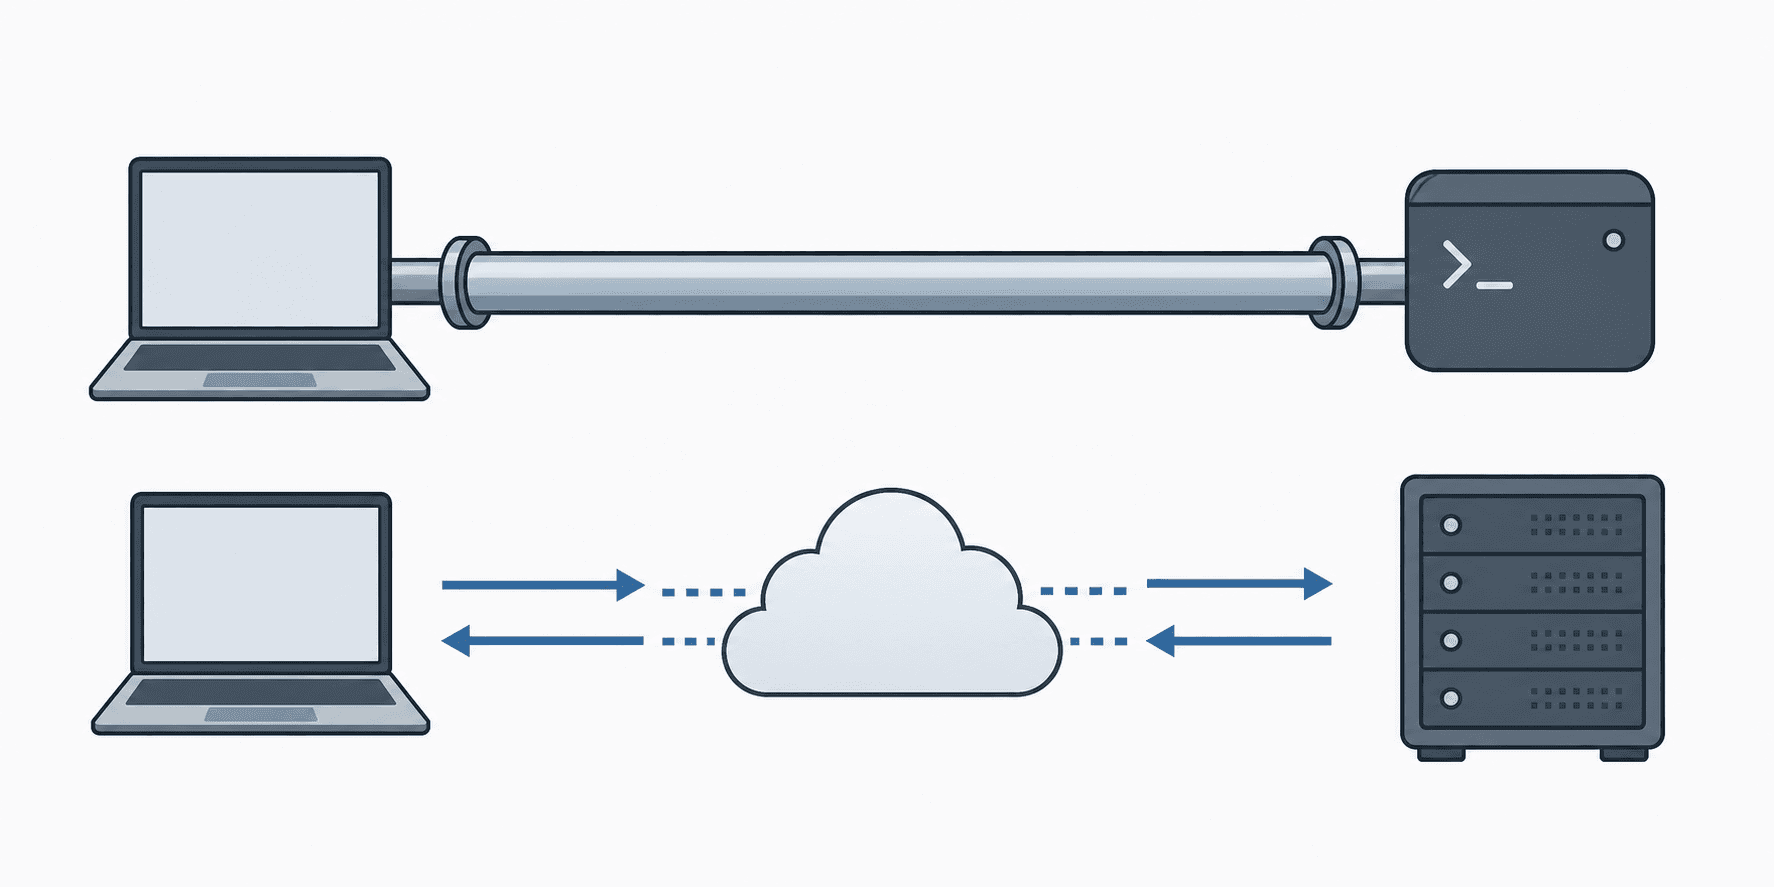
Use stdio when a client launches your server as a local subprocess. Use Streamable HTTP for a remote endpoint. The mcp-use project in this guide already serves HTTP, so deployment does not require changing it from stdio.
Check the MCP transport documentation and each target client's connection requirements when integrating an existing server.
Choosing Your SDK and Language
This guide uses the mcp-use SDK, the full-stack TypeScript framework for MCP. You import MCPServer from mcp-use and register tools with server.tool(). It handles JSON schema generation, input validation, transport, and auth around your application code.
A few reasons it fits this build:
- The framework supports tools and React-based MCP App Views in one project. See building an MCP app if your tool needs an interactive interface.
- Tool inputs and outputs accept any Standard Schema validator. Generated projects use Zod, and ArkType or Valibot work without changing the registration API.
- The server is stateless Streamable HTTP by default, and the
mcp-useCLI owns the dev server, build, and production listener.
Scaffold a project with create-mcp-use-app and register a tool with its input schema.
Setting Up Your Environment
Use Node.js 22.22.2 or later, as specified in the current SDK quickstart. Check your version first:
node --version # need 22.22.2 or laterThe recommended path scaffolds a project with everything wired:
npx create-mcp-use-app@latest my-mcp-server --template mcp-server
cd my-mcp-server
npm install
To add mcp-use to an existing project instead:
npm install mcp-use zodProject Layout
A TypeScript mcp-use project needs at minimum:
my-mcp-server/
├── index.ts
├── package.json
└── tsconfig.jsonindex.ts holds the server and its default export. MCP App projects also include Views; this guide starts with a tool-only server.
Building Your First MCP Server
A single runnable mcp-use server you can copy and start immediately.
TypeScript (mcp-use)
import { MCPServer } from "mcp-use";
import { z } from "zod";

const server = new MCPServer({ name: "weather", version: "1.0.0" });

server.tool(
  {
    name: "get_weather",
    description: "Return a weather forecast for a city.",
    inputSchema: z.object({ city: z.string() }),
  },
  async ({ city }) => ({
    content: [{ type: "text", text: `The weather in ${city} is sunny.` }],
  }),
);

export default server;
Run the dev server:
npm run devThis starts the MCP endpoint at /mcp and the Inspector at /mcp/inspector locally. Tool registrations and Views hot-reload as you edit, so changes appear in the Inspector without a restart.
Adding Resources and Prompts
Start with the tool above. If your use case also needs readable resources or reusable prompts, add them using the SDK server documentation.
Keep those additions separate from the first deployment so you can test each primitive as you add it. Client support and presentation can differ, so verify the intended client flow.
Testing Your Server Locally with MCP Inspector
Start the generated project:
npm run devOpen http://localhost:3000/mcp/inspector. The MCP endpoint is http://localhost:3000/mcp. If you change the development port, use the address printed by the CLI.
Select get_weather, supply {"city":"London"}, and run the tool. The example returns a fixed sunny-weather response, not live weather data. Inspect the arguments and response, then try a missing or invalid city to check validation.
Run the generated type check after editing:
npm run typecheckA manual tool call confirms that interaction, not every client's behavior. Use the Inspector docs for connection settings and the cross-client testing guide for task-based tests.
Connecting to a Real Client
Once your Inspector tests pass, wire the server to a real client.
Connect the deployed HTTP endpoint
Copy the hosted URL from the dashboard into the client's MCP connection settings. Do not use the Python subprocess configuration for this TypeScript HTTP server.
Follow the client connection documentation for the selected client and authentication flow.
One caveat worth knowing: every client parses tool schemas, handles auth flows, and negotiates capabilities differently. A tool that works in Claude for Desktop may behave differently in Cursor or ChatGPT, so test against each client profile you plan to support.
Authorization and Security
Decide which operations are public and which require a signed-in user. For authenticated remote servers, follow the MCP authorization documentation and your client's requirements.
Validate access on the server before calling a private API. Keep credentials in environment variables or the host's secret store, not in source code or endpoint query strings. Test the full authentication flow against the deployed URL, including an unauthorized request.
Production Considerations: Error Handling, Logging, and Rate Limiting
Four things break MCP servers in production that never surface locally: unhandled exceptions, unstructured logs, silent rate-limit failures, and missing per-client timeout handling.
Error Handling
Validate tool inputs and return a useful error when an operation cannot complete. Avoid returning stack traces, credentials, or internal identifiers in user-visible messages. Test invalid inputs and upstream failures as well as the successful path.
Logging
Log every tool call with a request ID and session context. Unstructured log messages are harder to correlate when something fails. Structured JSON with tool_name, session_id, duration_ms, and error fields lets you grep or query across requests.
Rate Limiting
Respect the upstream API's rate limits. Use bounded retries for transient failures and honor its retry guidance. Do not automatically retry a write unless it is safe to repeat or protected by an idempotency key. Return a clear tool error if the operation still cannot complete.
Before connecting production clients
The deployment steps are at the top of this guide. Before sharing the resulting URL:
- Confirm the build completed and the server is running.
- Check production environment variables and authentication.
- Call a representative tool with a test account.
- Test the same task in each supported client.
- Check logs and error responses without exposing credentials or private payloads.
Use the hosting walkthrough to compare managed hosting with running your own infrastructure.
Submitting an MCP app to ChatGPT
Deployment and marketplace submission are separate. A hosted endpoint still needs to meet the destination's requirements.
For ChatGPT, start with publishing checks, test real user workflows, generate and review the Manufact Submission Pack, then follow the ChatGPT submission guide.
The Submission Pack prepares materials for OpenAI submission. It does not submit to every marketplace or guarantee approval. For another destination, use that platform's own submission process.
Operating your server on Manufact
Manufact hosting provides deployment and runtime controls. Cross-client testing helps you inspect how clients complete tasks. Publishing checks are a separate pre-submission step.
Cloud Inspector provides traces for traffic routed through Manufact. Metadata capture and request/response payload capture are different settings; payload capture is opt-in. Review the configuration before sending sensitive data.
See current pricing for plan allowances and retention rather than assuming the same limits apply to every organization.
Get your first endpoint running
Build one useful tool, test it locally, and deploy it. Then test the hosted endpoint in your target clients before sharing it with users.
Deploy your MCP server Manufact Cloud runs on top of everything covered in this guide. Connect a GitHub repo and a push deploys to live in under a minute. Branch preview URLs run against real MCP clients (ChatGPT, Claude, Cursor) so transport and auth issues surface before merge. Automated publishing checks cover protocol compliance, tool schemas, error handling, and metadata quality. The Submission Pack generator produces listing copy, reviewer test cases, and visual assets in each store's required format.
The Cloud Inspector captures 100% of tool calls with p50 under 5ms overhead. Analytics retention is 30 days on Free and Pay as you go, 90 days on Pro, and 365 days on Enterprise. See how AgentMail handles 100k+ agent tool calls using this infrastructure. Latency is reported at p50/p95/p99 per tool and per client with no SDK changes required.
Free is $0 with no credit card required and $5/month in included usage. Pay as you go has no subscription fee and includes $10/month in usage, with additional usage billed within your chosen budget. Pro is $300/month or $250/month billed $3,000 annually, with $300/month in included usage. Enterprise terms are agreed individually. See current pricing for plan limits and graduated usage rates.
Final Thoughts on Building an MCP Server with the mcp-use SDK
You have a working path to a deployed, marketplace-ready MCP server. The 2026-07-28 spec is the current release; the mcp-use SDK has 10,600+ GitHub stars and 10M+ downloads. Start local, test with the Inspector, and deploy when your tool schemas pass clean. Manufact runs automated conformance checks across all six requirement groups before you submit.
FAQ
How do I test an mcp-use server locally?
Run npm run dev in the generated project, then open http://localhost:3000/mcp/inspector. Call a tool and inspect its arguments and response before testing in a real client.
Does deploying an MCP server publish it in ChatGPT?
No. Hosting gives your server an endpoint. OpenAI submission is a separate process with its own checks and review.
Do I need to change hosts to use Manufact testing?
No. You can connect an existing MCP URL and use testing and publishing checks without migrating its hosting.